


How to switch cookie-banner providers without losing control of tracking
You have found a better deal on your cookie banner. Now you need to change providers without leaving two banners on the page or breaking the conversion event your campaigns depend on.
A careful migration starts with an inventory, tests the replacement away from ordinary visitors and uses a controlled release with a rollback plan. Do not assume that consent saved by the old provider can be read by the new one.
This guide is for a marketer coordinating the change with a developer or agency. It covers seven general steps, a checklist of what each step should produce and, at the end, what is documented about switching to Passiro.
The seven steps at a glance
| Step | Output |
|---|---|
| 1. Existing setup | OutputAn inventory of installations, categories and tools, plus a dated baseline test |
| 2. Consent handling | OutputA decision on stored choices and old records, with the exports you need archived |
| 3. Purpose mapping | OutputA map from each category to its tools and Google consent signals |
| 4. Staging test | OutputA test log for each visitor journey, with issues fixed and retested |
| 5. Release | OutputOne active consent setup and a written rollback route |
| 6. Live check | OutputProduction test results, a verified conversion and an annotated release date |
| 7. Closing the old account | OutputExports checked, old subscription cancelled and an owner named for the new setup |
1. Capture the setup you have
Record the old banner’s installation method, category definitions, regional rules, languages and links. Identify direct scripts, tag-manager containers and plugins that can affect tracking, plus any custom code that reads the old platform’s consent events.
Save a copy of the current configuration and a dated record of the main tests. Include the conversion event, value, currency and any transaction identifier used to avoid duplicates. For this baseline, success means “we understand the behaviour”, not “the old configuration is correct”.
2. Decide what happens to existing consent
Saved consent can depend on provider-specific storage, identifiers, wording and purposes. Even where a migration is technically possible, it only works if it preserves what the visitor actually agreed to.
Ask both providers what is supported. Do not rename a cookie or copy a positive flag and treat that as a complete migration. If choices cannot be transferred reliably, plan how returning visitors will make a fresh choice.
Export the records you need to keep before closing the old account, under your retention policy, and check that the files open. Do not export personal information just because an export button exists.
3. Map purposes before mapping tags
Write down what each category means in the new banner, then map the relevant tools and consent signals to it. A renamed “performance” category should not silently broaden into advertising permission.
For Google tags, document the four v2 signals and your selected Basic or Advanced approach. Use Google’s setup guidance with your implementer. Our Consent Mode comparison covers the practical trade-off.
4. Test the replacement in staging
Install the replacement on a representative staging setup, with the old platform disabled there. Keep test traffic and test transactions separate from production reporting where possible.
Check these journeys:
- A first visit with no saved preference.
- Rejection of optional purposes.
- Analytics allowed while advertising remains off.
- Full acceptance and a single conversion.
- Withdrawal followed by navigation.
- A returning visitor with old-provider storage.
Also test mobile and the regions you actively serve. Staging can differ from production, so it is a rehearsal rather than the final sign-off.
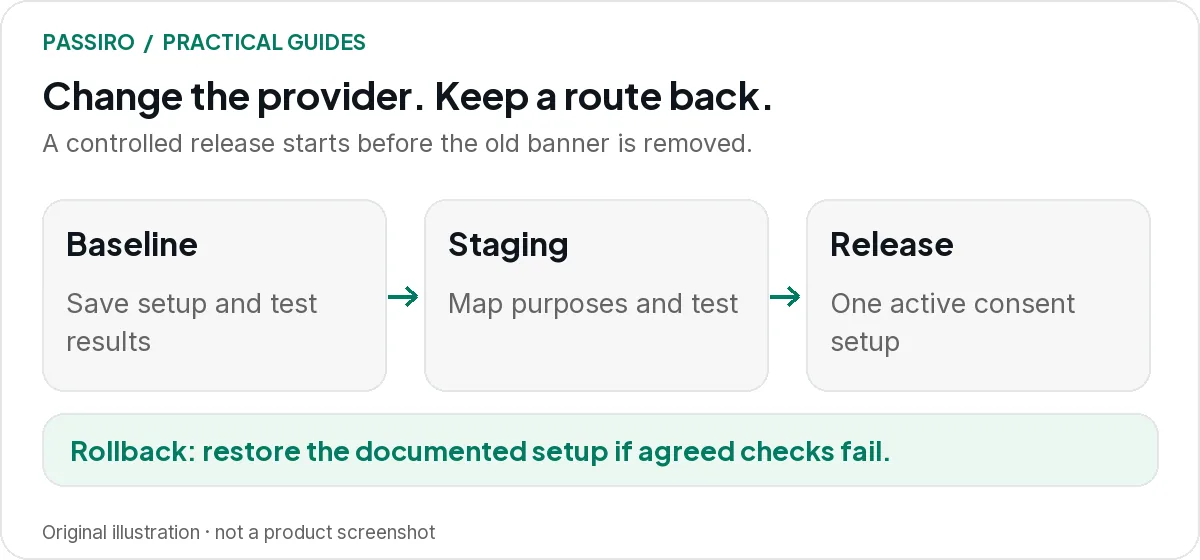
5. Release one active consent setup
Prepare the removal and replacement together. Identify every route by which the old banner loads, including the theme, plugin and tag manager. It is easy to remove one copy while leaving another in place.
Choose a release window when someone can verify the site immediately. Do not leave both systems competing to control the live page, even with one banner hidden.
Write down the rollback route before you start: which checks must pass, who decides, and how to restore the previous installation. Keep the old configuration and account available until the live checks are complete.
6. Verify the live site and annotate reporting
Run the key tests again in production. Confirm the new banner appears once, consent defaults and updates behave correctly, and the purchase or lead event is neither missing nor duplicated.
Record the release in your reporting notes. If measurement changes, compare business transactions, campaign settings and consent behaviour before attributing the entire difference to marketing performance. The reporting troubleshooting guide gives you a sequence to follow.
7. Close the old account after the checks
Confirm the cancellation terms, check that your exports are accessible and name the owner of the new setup. Update the relevant policy information where vendor or processing details changed. Give the team a short handover with the date of the next scan review.
Switching to Passiro: what to expect
If Passiro is the new provider, the seven steps still apply. Switching is a new setup rather than an automatic account transfer: you use the old configuration as a reference and recreate it in Passiro.
Installation options
Each site has its own Passiro script under Implementation in your account. Install the Passiro script in the page head on every page, before other scripts, unchanged and without async or defer. On a website builder or CMS, use the site-wide head-code area, not a content block inside a page. The Support Center explains both routes: direct installation and website builders and CMSs.
Direct installation and Google Consent Mode v2 are available on every plan. Dedicated Google Tag Manager, WordPress, Shopify and Wix integrations are planned but not available yet. If you use Google Tag Manager, install the Passiro script above the Tag Manager snippet. The integrations page shows the current status.
Settings to configure before the release
Recreate these in Passiro, using your saved configuration as a reference:
- Banner design, wording, translations and consent categories.
- Script blocking, including the Auto-block scripts setting.
- Regional rules under Geolocation, including the experience for an unknown location.
- Google Consent Mode: Basic or Advanced, or off if you do not use Google tags.
- Consent Validity: how many days Passiro remembers a visitor’s choice.
- Allowed Domains, including any staging hostname you test on.
- IAB TCF, if your advertising partners need it (Pro and above).
- Team members and their roles.
Also update integrations that depend on the old platform’s events, attributes or consent checks. Then run Verify Installation and test accept, reject, change and withdraw: a successful installation check does not replace a functional test. Use the guides to testing on a staging site and the pre-launch consent check.
If two banners appear after the release, remove the old script or plugin completely; hiding its banner is not enough. Remove duplicate cookie banners lists where leftover code usually sits.
What happens to choices visitors already made
Passiro does not import consent records or stored choices from another consent platform. Your consent history in Passiro starts when the Passiro script goes live.
After the release, a visitor whose choice exists only in the old platform sees the Passiro banner wherever your regional settings show one, and chooses again. Passiro records that new choice, and the visitor can change it later through the cookie settings button.
Before you close the old account, clarify three things: which records and reports the old provider lets you export, how long you keep access to them, and whether any tag or custom code still reads the old platform’s consent state. Archive the exports you need yourself; they are not moved into Passiro.
Passiro Free includes the cookie banner, automatic script blocking, geo-targeting, Google Consent Mode v2 and unlimited visitors. Pro adds your own logo, removal of Passiro branding, IAB TCF v2.4 and IAB GPP. Check the plan details, then follow the Switch to Passiro guide and the Support Center article on switching from another consent platform.
Two quick questions
How long does a switch take?
Passiro’s switching guide suggests budgeting 1–2 hours of hands-on work for a straightforward website. That is a planning estimate, not a guarantee: custom scripts, multiple domains, complex tag setups and release approvals can add time.
Can I run both banners while testing?
Not on the same page. Keep the old banner live for visitors and test the replacement on staging with the old platform disabled there. Two active platforms can send conflicting consent signals, even if one banner is hidden.